To add Custom Columns go to the Matter Menu and choose Edit Columns:
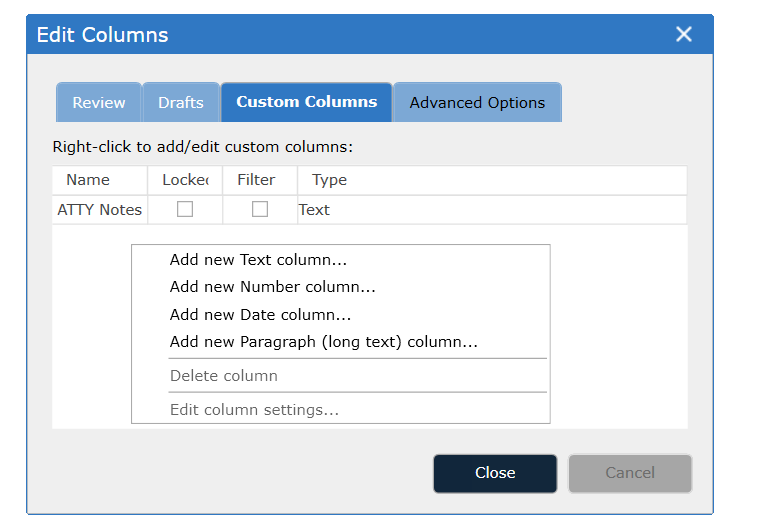
Select the Custom Columns tab:
Right-click in the dialog box to add, delete, or edit columns and the drop down menu will appear:
The Add/Edit Custom Columns dialog box will appear:
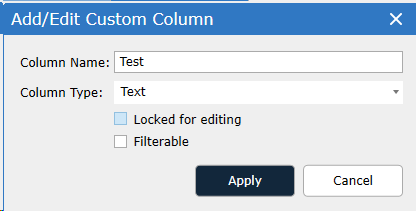
Type the name of the new column into the Column Name area.
Choose column type from the drop down:
Text -- use for fields that may contain symbols and/or alphanumeric characters
Text (Long) -- use for fields that may contain > 2000 characters of text
Number -- use for fields that only contain integer data
Date
Choose either "Locked for editing" or "Filterable":
The "Locked for editing" option specifies whether this field should be editable by reviewers. Individual cells in a locked column will not be editable, however, metadata will still be overlaid into a "locked" Custom Column.
The "Filterable" option specifies whether the unique values in this field should be visible as filter options in the filter tree. After enabling the Filterable option for a Custom Field, go to Matter -> Refresh Environment to see the filter option appear. Likewise, changes to the values in that column will not be reflected in the filter tree until the environment is refreshed. See Custom Field Filters for more details.
Click Apply to commit the changes.
Important: When using the Filterable option, only the first 1000 unique values in a field will be added to the filter tree.
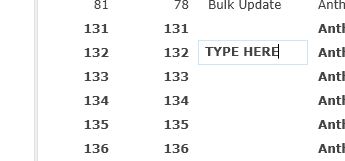
To populate custom fields:
Click on the custom field cell in the Document List and add/edit the cell's contents.
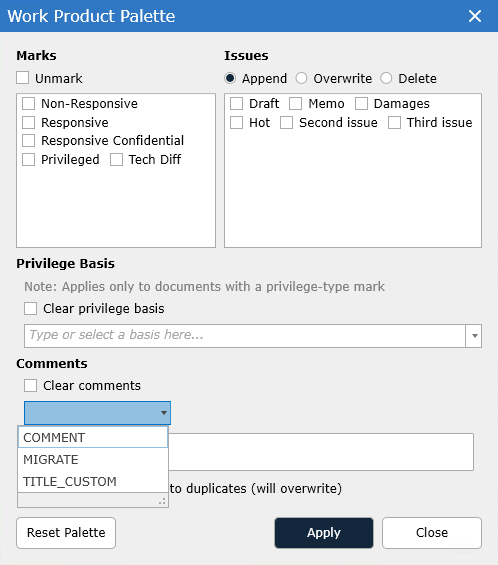
To update in bulk use the Work Product Inspector - select the field in the drop down by comments and type the content below. The content will be added to any documents highlighted in the Document List:
An additional option is to create a DAT file and overlay the data into the custom field(s).