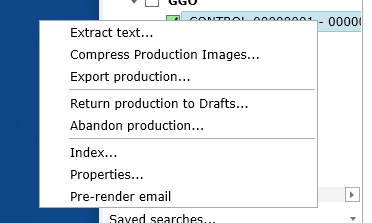
Right-click the Production name and select Export production:
Make the selections required for the production export.
When TITLE is included as a metadata field to export, the Title field as well as a separate Subject and FileName field required by other eDiscovery tools will be included.
Native Path and Text Path are automatically included and generated during the export.
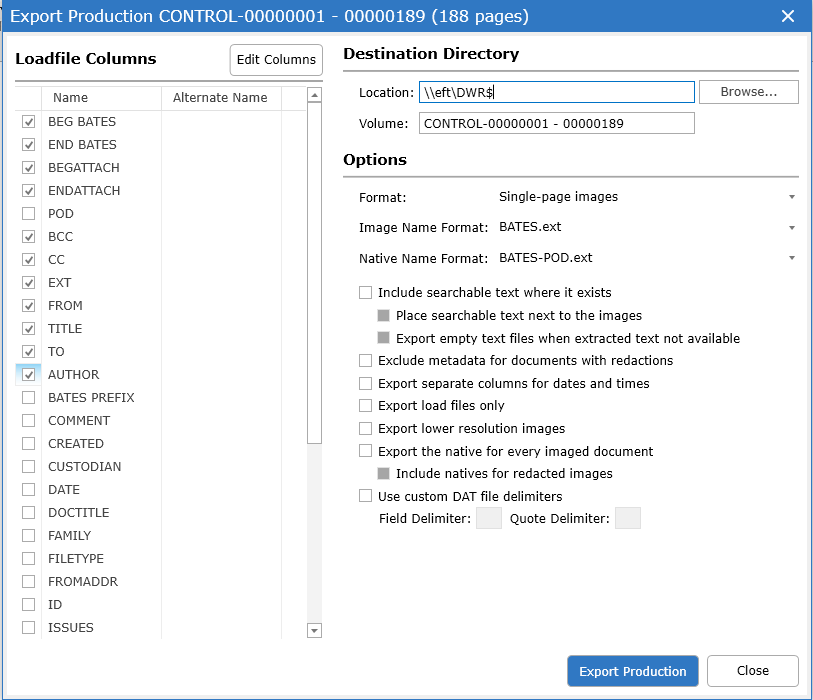
Select the columns of metadata to be included in the load file. The fields available for export are the fields which are checked in Matter -> Edit Columns -> Review. (See Edit Columns) Select teh Edit Columns button at the top of the window to access directly.
To change the default location of the Destination Directory, use the Browse button next to the Location field to find a directory, select it and click OK so the new directory appears in the Location field.
In the Volume field, label this production with the desired name of the folder in which the production will export. The tool defaults to the bates range of the production.
Selecting Exclude metadata for documents with redactions results in the tool placing the text [REDACTED DOC] in the TITLE field and blanking out all other fields.
Select Export lower resolution images to export black and white Group IV TIF versions of all documents in the production.
To cancel Production export:
To cancel the production export click the Cancel button while it is running. When the production export is canceled in the middle of exporting, restarting by clicking Export Production again will cause an alert:
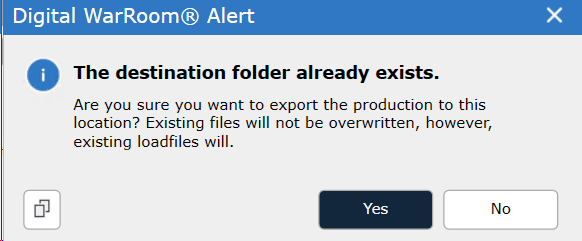
When restarting the export, documents already exported to the destination folder will be skipped and the export will pick up where it left off. Any load files in the partial export will be overwritten.